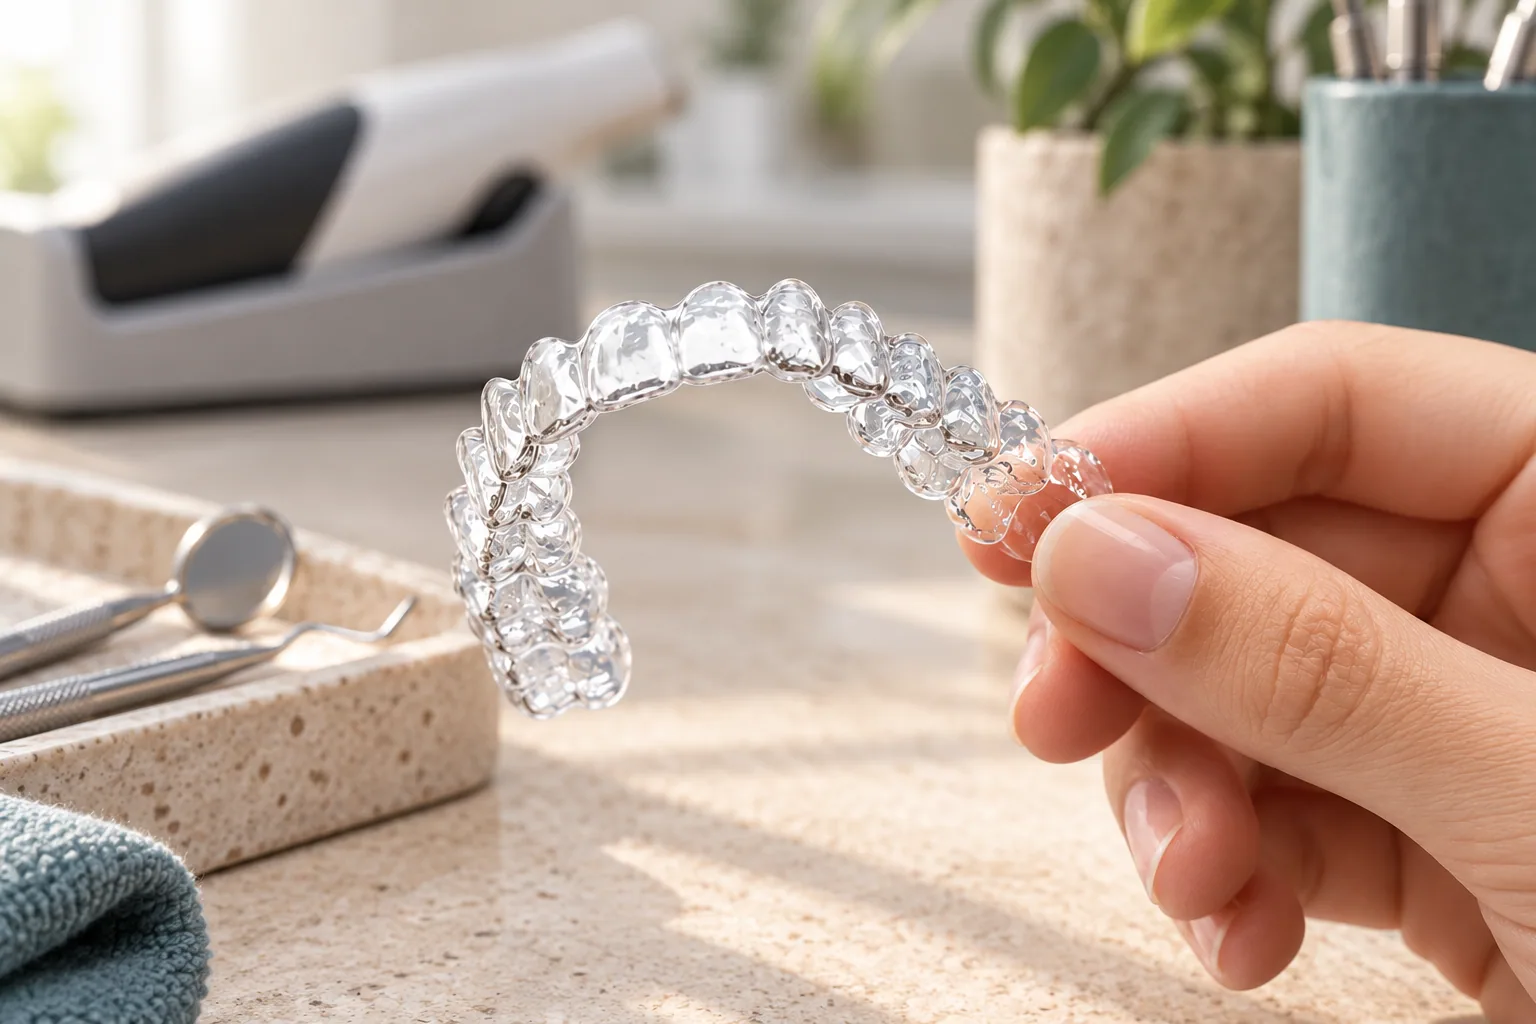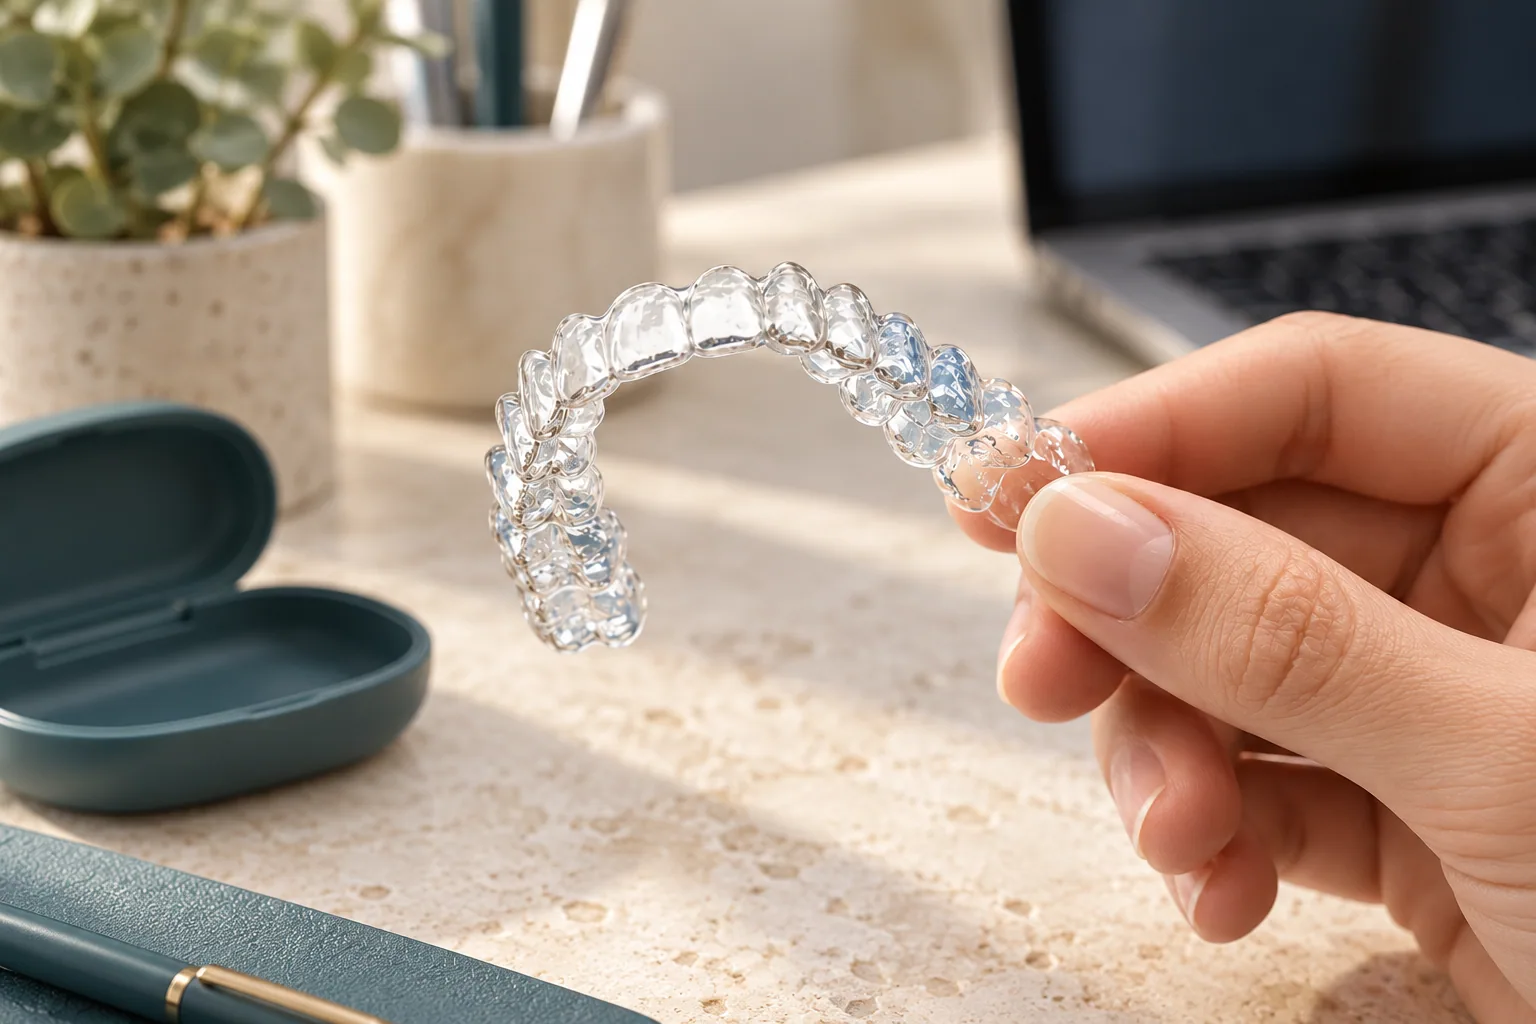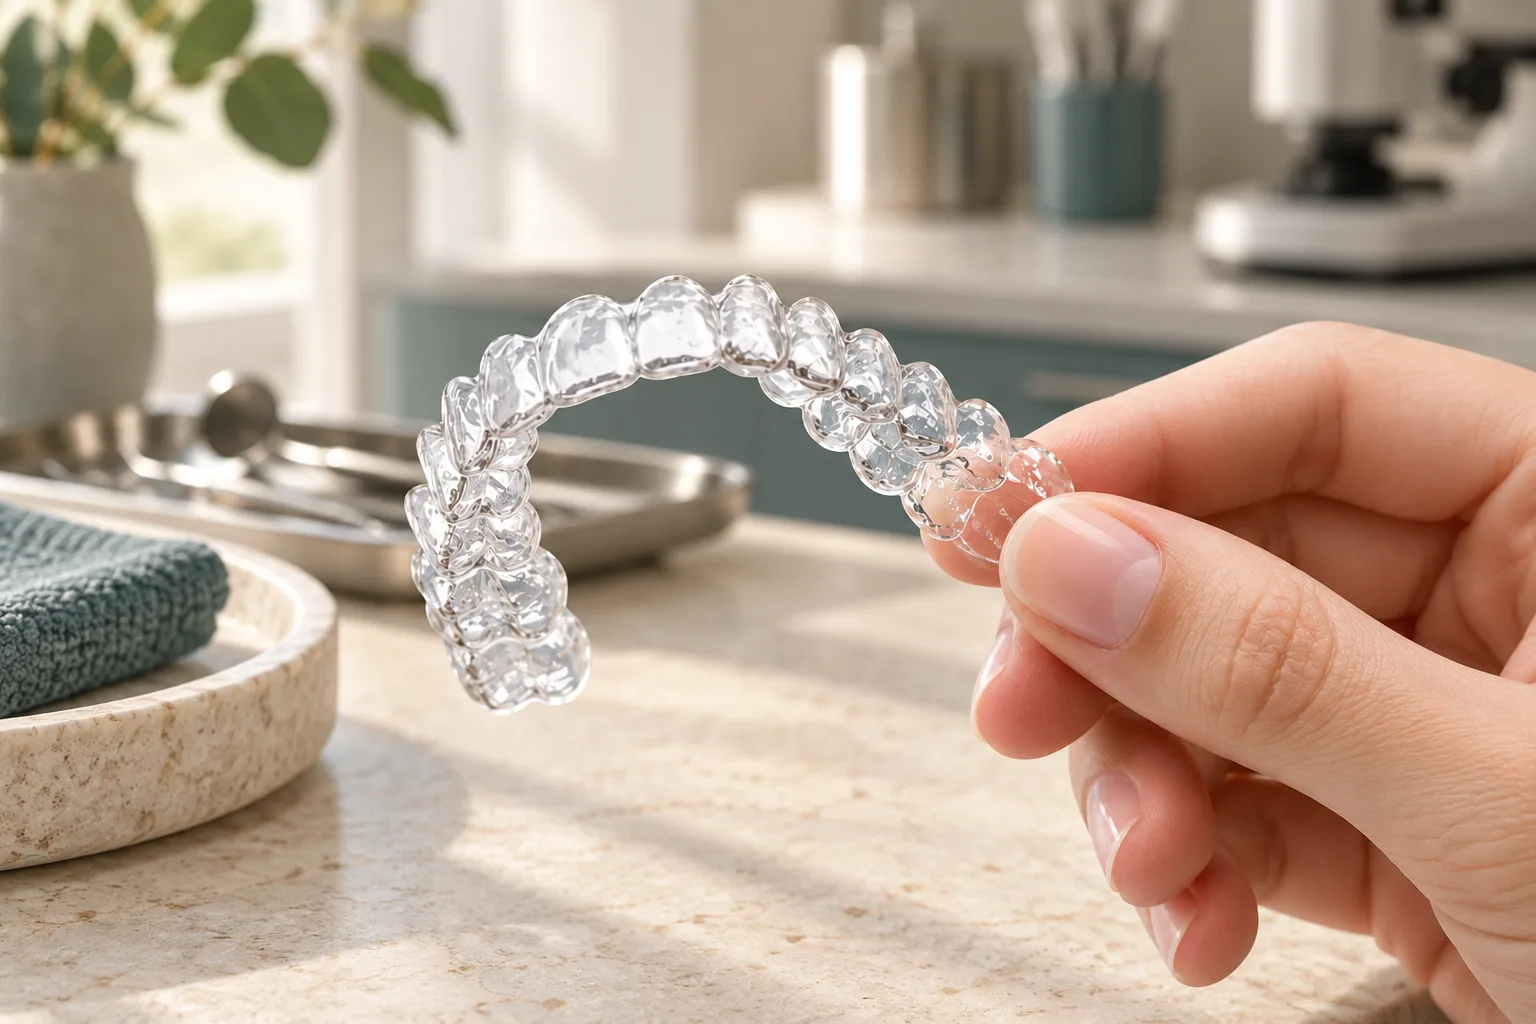


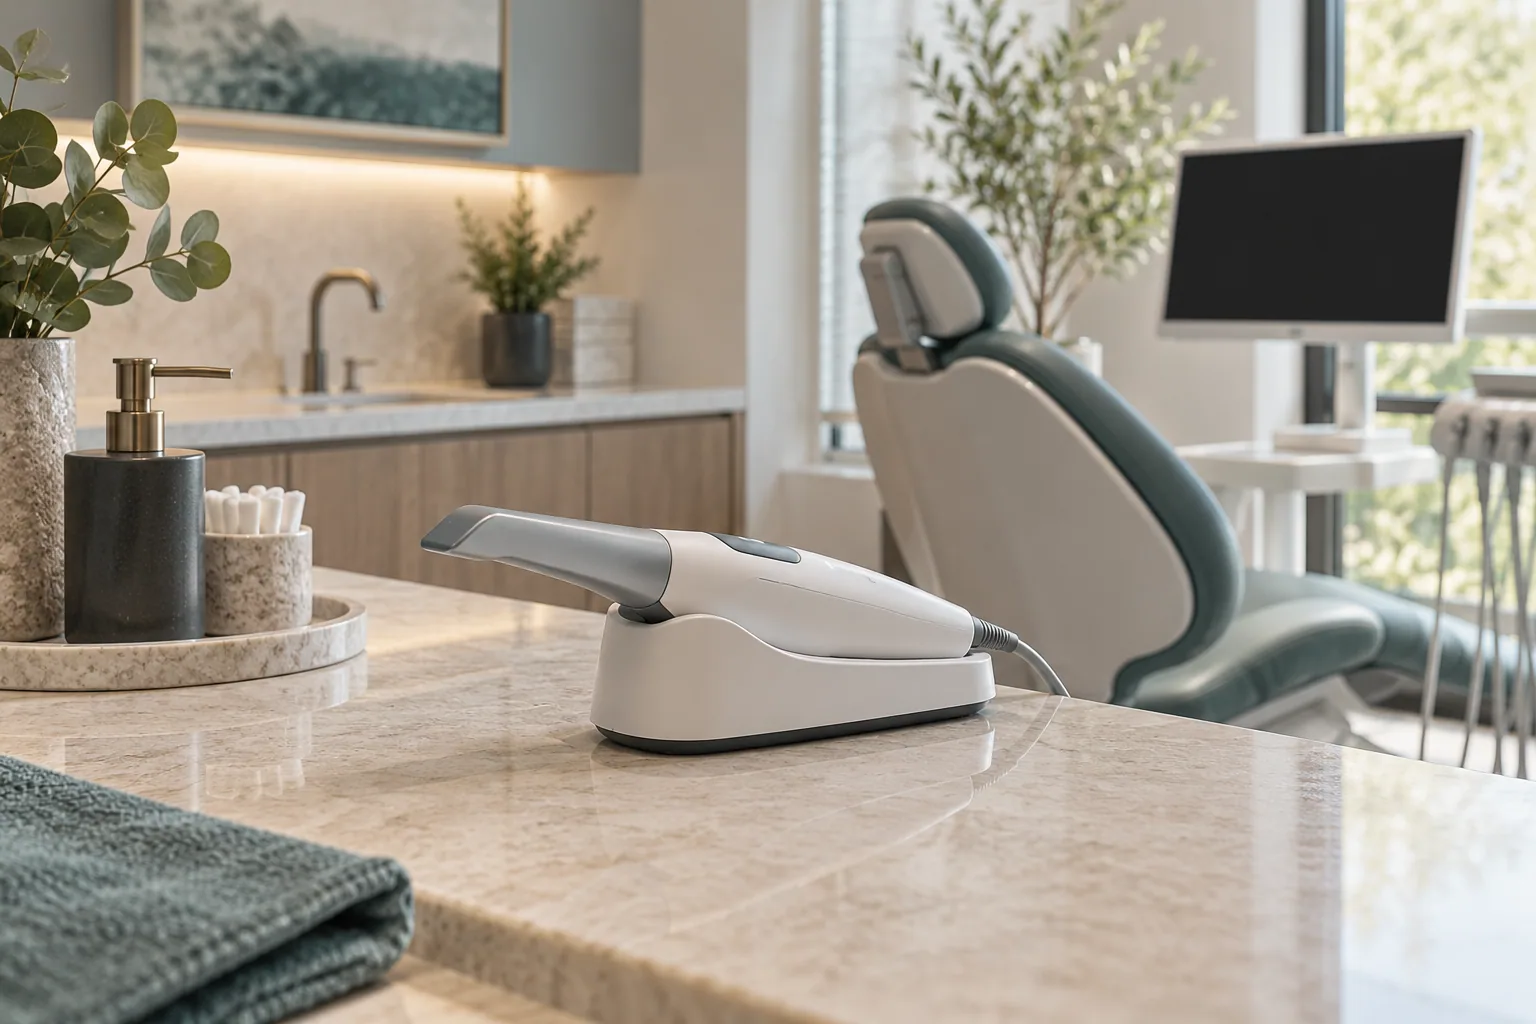
A retainer scan quality checklist should help a dental team catch preventable handoff errors. It cannot define one universal scan specification for every scanner, material, or appliance. Use this checklist alongside the scanner manufacturer’s instructions and the receiving laboratory’s requirements, with the treating clinician responsible for prescription decisions.
1. Match the record to the case
Begin with the details that are easy to overlook when a clinic is busy: patient identity, capture date, arch labels, and the requested appliance. Confirm that the files selected for export belong to this visit and this order. If an older record is being considered, obtain the clinician’s decision that it is appropriate for the present case before submission.

2. Examine the required surfaces
Rotate and inspect the scan rather than judging it from one attractive overview. Check the areas needed to make the prescribed appliance, including the end of the captured arch and the tooth surfaces that may be difficult to see in the default view. The required extent of coverage should come from the laboratory’s instructions, not a generic millimeter rule copied from another product.
- Look for missing areas or gaps in the relevant surfaces.
- Check for duplicated or distorted anatomy.
- Review difficult-to-see surfaces from more than one angle.
- Confirm that anything obscuring the tooth shape has been addressed through the appropriate capture process.
3. Separate a repairable scan issue from a clinical question
Scanner software may provide tools for trimming, rescanning, or reviewing an area. Use them within the manufacturer’s workflow and your training. Do not invent a tooth surface to make a file look complete. If the team cannot distinguish a scan artifact from actual anatomy, ask the clinician to review it before sending the case.


4. Confirm additional records and the prescription
Ask the laboratory whether the specific order requires opposing-arch information, bite records, photographs, or additional instructions. The correct answer depends on the appliance. A team should not omit a requested record simply because a previous order used fewer files, or send extra patient information without a defined purpose.
| Check | Before you submit |
|---|---|
| Identity | Correct patient, scan date, and arch labels. |
| Coverage | Required surfaces captured and reviewed. |
| Artifacts | Uncertain or distorted areas resolved through the appropriate workflow. |
| Prescription | Appliance, arch, quantity, and special instructions confirmed. |
| Transfer | Accepted format, approved channel, and correct recipient. |
| Ownership | Named practice contact for follow-up questions. |

5. Close the feedback loop
When a laboratory rejects or queries a scan, record the reason in a simple practice log. Useful categories include wrong file, incomplete coverage, unclear prescription, and transfer problem. Review recurring issues during team training. That gives the practice a specific process to improve instead of a vague goal to “scan better.”
For an end-to-end view, follow our digital retainer workflow. For system connections, visit compatible intraoral scanners.
Sources & further reading
Prepared by SuperbDent Editorial. General education; your treating clinician determines your appliance and care plan.